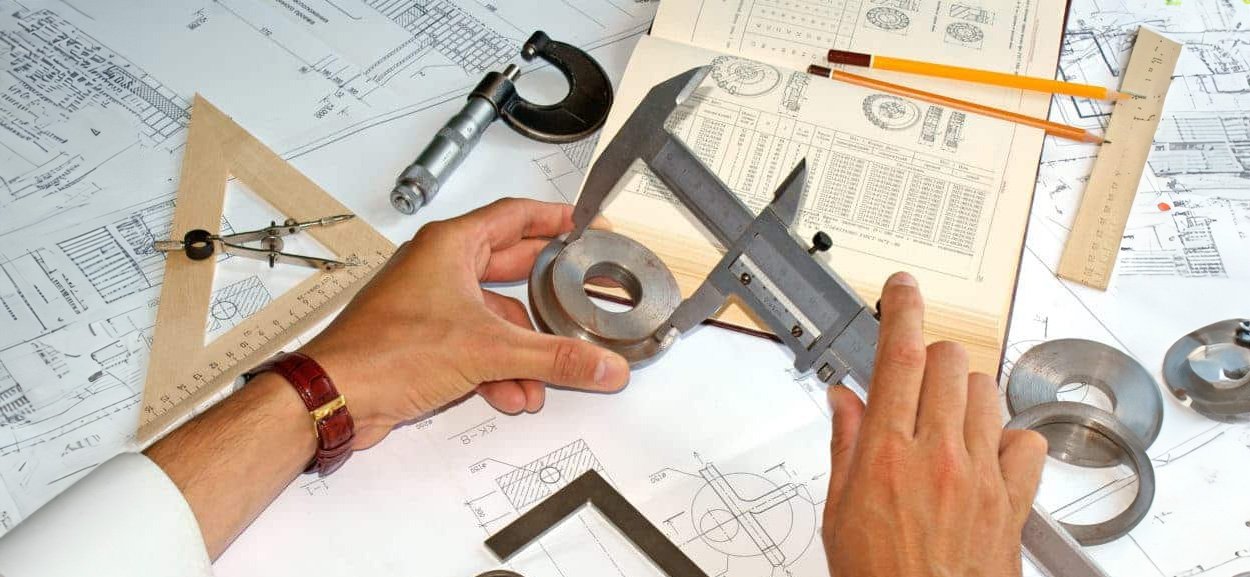
The industrial world has advanced over the years with a wide range of measuring instruments suitable for industry and the laboratory. Although things used to be difficult to operate, today you can get fast and accurate measurement results. By using measuring tools you can save time, costs, prevent malfunctions and safety issues. They make our lives better and safer and improve quality and life expectancy. In this article, we will take a deeper look at the different type of Industrial measuring tools. Follow this new blog in Linquip to find out more.
Different Type of Industrial Measuring Tools
Here are some most commonly used measuring tools in industries.
Caliper
Calipers are a common measuring tool that accurately measures the distance between two opposing sides of an object. A caliper will have two adjustable tips that can be pushed up against opposite sides of an object. When the caliper is removed from the object, the user can see from the affixed ruler which measurement was given between the two tips and would then know the object’s diameter.
The caliper has several types which are described below.
Vernier Caliper
Vernier Caliper is a widely used linear measurement instrument with the least count of 0.02 mm. It is used to measure linear dimensions like length, diameter and depth.
Inside Caliper
The inside caliper is used to measure the internal size of an object. It consists of two legs that are not inverted to each other and are connected using a screw and nut mechanism.
Outside Caliper
The Outside caliper is used to measure the external size or outer size of an object. It consists of two legs that are inverted to each other and are connected through a screw and nut mechanism.
Odd-Leg Caliper
Odd-Leg calipers, Hermaphrodite calipers, or Oddleg Jennys are generally used to scribe a line at a set distance from the edge of a workpiece. The bent leg is used to run along the workpiece edge while the scriber makes its mark at a predetermined distance, this ensures a line parallel to the edge.
Divider Caliper
In the metalworking field, a divider caliper, popularly called a compass, is used in the process of marking out locations. The points are sharpened so that they act as scribers; one leg can then be placed in the dimple created by a center or prick punch and the other leg pivoted so that it scribes a line on the workpiece’s surface, thus forming an arc or circle.
Dial Caliper
The dial caliper reads the final fraction of a millimeter or inch on a simple dial. In this instrument, a small, precise rack and pinion drive a pointer on a circular dial, allowing direct reading without the need to read a vernier scale. Typically, the pointer rotates once every inch, tenth of an inch, or 1 millimeter. This measurement must be added to the coarse whole inches or centimeters read from the slide.
Digital Caliper
A popular refinement replaces the analog dial with an electronic display that shows the reading as a numeric value. Rather than a rack and pinion, these calipers use a linear encoder. Most digital calipers can be switched between centimeters or millimeters, and inches. All provide for zeroing the display at any point along with the slide, allowing the same sort of differential measurements as with the dial caliper. Digital calipers may contain a “reading hold” feature, allowing the reading of dimensions after use in awkward locations where the display cannot be seen.


